How to Connect a Canon PIXMA Printer to a Laptop
You can connect a compatible Canon PIXMA printer to a laptop using WiFi or a direct USB connection, depending on the connectivity supported by your exact printer model. The setup process generally involves preparing the printer, choosing the correct connection method, adding the printer to the laptop, and installing any software needed for full printer or scanner functionality.
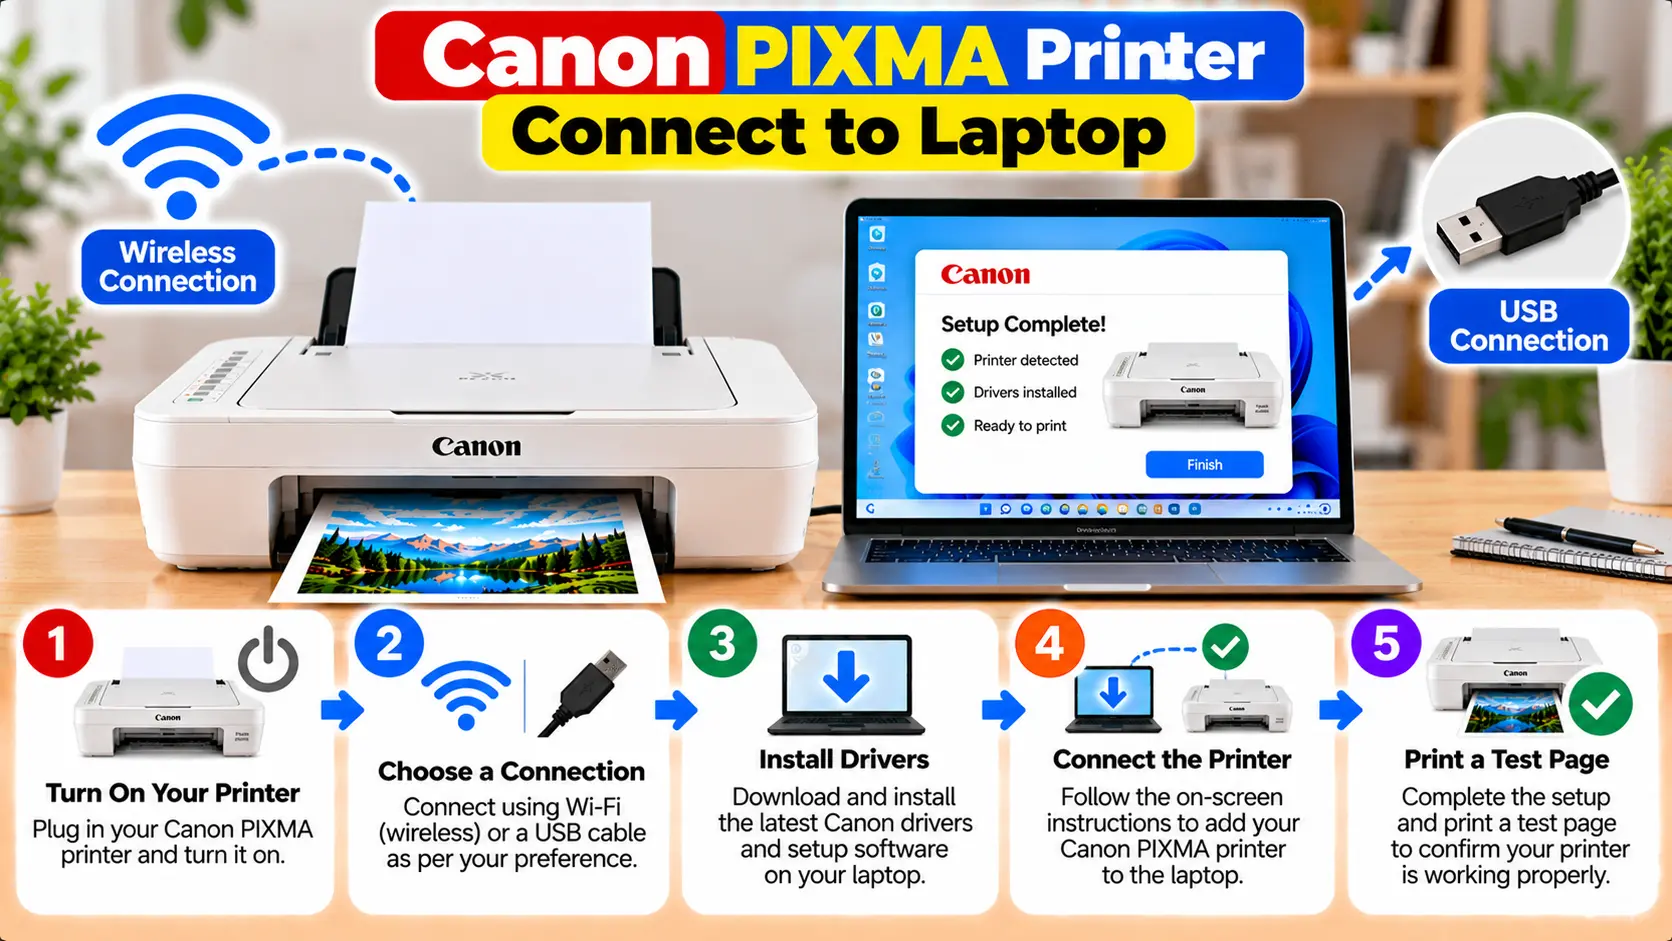
How Do I Connect My Canon PIXMA Printer to My Laptop?
First identify whether your exact PIXMA model supports WiFi, USB, or both. For a WiFi-capable model, connect the printer to the same wireless network used by the laptop, then add it through the laptop's printer settings. For a USB model, connect the printer directly to the laptop using the appropriate USB cable and complete the printer installation.
Before Connecting a Canon PIXMA Printer to a Laptop
Start by checking the exact model number printed on the printer. PIXMA is a large printer family, and connection capabilities differ between models.
Some PIXMA printers support wireless LAN, while others use USB as their normal computer connection. Do not assume that a printer supports WiFi simply because another PIXMA model does.
Before beginning, check:
- The exact Canon PIXMA model number
- Whether the model supports WiFi, USB, or both
- That the printer powers on normally
- That paper and ink are installed correctly
- The operating system running on the laptop
- Your wireless network name and security information if WiFi setup is required
- A suitable USB cable if using a wired connection
Choose the Correct PIXMA Connection Method
The two common ways to connect a PIXMA printer to a laptop are wireless networking and USB.
| Connection | How It Works | Best Starting Check |
|---|---|---|
| WiFi | A compatible PIXMA printer and the laptop communicate through the local wireless network. | Confirm the exact printer supports wireless LAN and connect both devices to the intended network. |
| USB | The printer connects directly to the laptop through a suitable USB cable. | Check the cable, USB port, printer power, and operating-system detection. |
How to Connect a Canon PIXMA Printer to a Laptop Using WiFi
Use this method only if your exact PIXMA model supports wireless networking.
Step 1: Turn On the Printer
Make sure the printer starts normally and does not display an error that needs attention before network setup.
Step 2: Prepare the Wireless Network
Confirm that the router or wireless access point is operating normally and that the laptop is connected to the network you intend to use for printing.
Step 3: Start the Printer's Wireless Setup
Start the supported wireless setup procedure for your exact PIXMA model.
Depending on the model, the available method may involve an on-printer network menu, a supported wireless-connect procedure, WPS, or setup software.
Do not copy a button sequence from an unrelated PIXMA model.
Step 4: Connect the Printer to the Intended Network
Complete the model-specific setup and confirm that the printer joins the same local network that the laptop will use.
Step 5: Add the Printer to the Laptop
Once the printer is on the network, use the laptop's printer settings or the appropriate printer setup software to detect and add it.
Add a Canon PIXMA Printer to a Windows 11 Laptop
If the PIXMA printer is already connected to the same network as the Windows 11 laptop, Windows can search for it through Printers & scanners.
- Turn on the Canon PIXMA printer.
- Confirm that the wireless printer and laptop are connected to the same intended network.
- Open Settings.
- Select Bluetooth & devices.
- Open Printers & scanners.
- Look for the printer in the installed printer list.
- If it is not installed, use Add device.
- Select the appropriate printer when Windows finds it.
- Complete any remaining installation prompts.
If Windows cannot find the printer automatically, do not immediately reset the printer. First verify the network connection, exact printer model, and whether the laptop and printer are on the same network.
How to Connect a Canon PIXMA Printer to a Laptop Using USB
USB is useful for PIXMA models that use a direct wired connection and can also be an available connection option on some wireless-capable models.
- Turn on the laptop.
- Prepare the PIXMA printer.
- Use a suitable USB printer cable.
- Connect the printer to an available USB port on the laptop.
- Turn on the printer if it is not already on.
- Allow Windows time to detect the connected device.
- Open Settings → Bluetooth & devices → Printers & scanners to confirm whether the printer appears.
- If necessary, use Add device.
Windows can automatically install many directly connected printers. Additional software may still be useful or necessary for model-specific functions.
Install the Correct Canon PIXMA Driver or Software
If basic printer detection works but some features are unavailable, check whether additional software is appropriate for the exact PIXMA model and operating system.
Before installing anything, confirm:
- Exact PIXMA model
- Windows version
- System architecture when relevant
- Whether you need printing only or additional scanning and maintenance functions
Avoid downloading printer drivers from unknown third-party driver websites.
See our related guide: Canon Printer Driver Download and Installation .
Check Scanning After Connecting an All-in-One PIXMA
If your PIXMA is an all-in-one model, successfully adding the printer does not always mean you have tested every scanner function.
After installation, confirm that the laptop can also detect the scanner functionality when scanning is required.
In Windows 11, an all-in-one device may appear under:
Settings → Bluetooth & devices → Printers & scanners
Select the device and review its available options. If Windows recognizes the device as a scanner, scanner-related settings may also be available.
Test the Canon PIXMA Laptop Connection
Once setup is complete, do not assume that the connection is working until you test it.
- Open the printer list on the laptop.
- Confirm the intended PIXMA printer appears.
- Make sure you are not selecting an old or duplicate printer entry.
- Open a simple document.
- Select the correct PIXMA printer.
- Send a test print.
- If the printer is multifunction, test scanning separately.
Canon PIXMA Won't Connect to Laptop? Try These Checks
PIXMA Printer Is Not Found on WiFi
Confirm that the printer actually supports WiFi and that wireless networking is enabled and configured for that model.
Make sure the laptop and printer are connected to the same intended network. Multiple routers, extenders, or separate network names can cause discovery problems.
Printer Is Connected to WiFi but Laptop Cannot Find It
Restart the printer and laptop, verify the network connection, then return to:
Settings → Bluetooth & devices → Printers & scanners
Use Add device again and allow Windows time to search.
USB Printer Is Not Detected
Check that the printer is turned on and that the USB cable is securely connected. Try another suitable USB port on the laptop if available.
Avoid relying on an unpowered or problematic USB hub while diagnosing a direct printer connection.
Printer Appears but Does Not Print
Confirm that you selected the correct printer, inspect the print queue, and check the physical printer for paper, ink, or error conditions.
If multiple entries for the same printer appear, determine which entry corresponds to the active WiFi or USB connection.
Printer Shows Offline
An offline status can indicate that Windows cannot communicate with the selected printer entry. Check the connection, printer status, network, queue, and installed device before repeatedly reinstalling software.
Driver Is Unavailable
If Windows reports a driver problem, verify the exact model and operating system and check for the appropriate driver or Windows update.
Canon PIXMA Laptop Connection Troubleshooting Table
| Problem | What to Check |
|---|---|
| Printer not found on WiFi | Exact model compatibility, printer network status, laptop network, and same-network connection. |
| USB printer not detected | Printer power, USB cable, USB port, and Windows printer list. |
| Driver unavailable | Correct PIXMA model, operating system, driver, and Windows Update. |
| Printer appears offline | Active connection, selected printer, print queue, network, and printer status. |
| Printer connected but won't print | Correct printer selection, queue, paper, ink, printer error, and driver. |
| Printing works but scanning does not | Scanner detection, scanning software, correct device selection, and network or USB connection. |
Common Canon PIXMA Laptop Setup Mistakes
- Assuming every PIXMA model supports WiFi.
- Following another model's wireless button sequence.
- Connecting the laptop and wireless printer to different networks.
- Installing software for the wrong PIXMA model.
- Using an unreliable USB connection.
- Selecting an old duplicate printer entry.
- Resetting the printer before checking basic connection problems.
- Downloading drivers from unknown websites.
Related Canon PIXMA Connection Guides
Frequently Asked Questions
How do I connect my Canon PIXMA printer to my laptop?
Check which connection methods your exact PIXMA model supports. A WiFi-capable model can normally be connected to the same network as the laptop and then added through the laptop's printer settings. A USB-capable model can be connected directly using the appropriate USB cable.
Why can't my laptop find my Canon PIXMA printer?
Common causes include different wireless networks, incomplete printer network setup, incorrect model-specific setup steps, USB connection problems, or a printer that has not yet been added to the operating system.
Does every Canon PIXMA printer connect to WiFi?
No. Connection capabilities vary by model. Check the specifications or documentation for your exact PIXMA printer before attempting a wireless setup.
Can I connect a Canon PIXMA printer to a laptop with USB?
Yes, if the specific PIXMA model provides a supported USB computer connection. Connect it with the appropriate cable and allow the operating system to detect the printer.
Where do I add a printer in Windows 11?
Open Settings, select Bluetooth & devices, and then Printers & scanners. If the printer is not already installed, use Add device to search for it.
Do I need a driver to connect my PIXMA printer?
Windows can automatically install many printers, but additional or updated software may be available or needed for some model-specific printing, scanning, or maintenance features.
Final PIXMA Laptop Connection Checklist
- Confirm the exact Canon PIXMA model.
- Check whether it supports WiFi, USB, or both.
- Make sure the printer starts without an unresolved error.
- For WiFi, connect the printer and laptop to the intended network.
- For USB, check the cable and laptop USB port.
- Confirm the printer appears in Windows.
- Install appropriate additional software when needed.
- Send a test print.
- Test scanning separately on an all-in-one model.