Quick And Easy: Steps For Canon Pixma Mg2522 Printer Setup
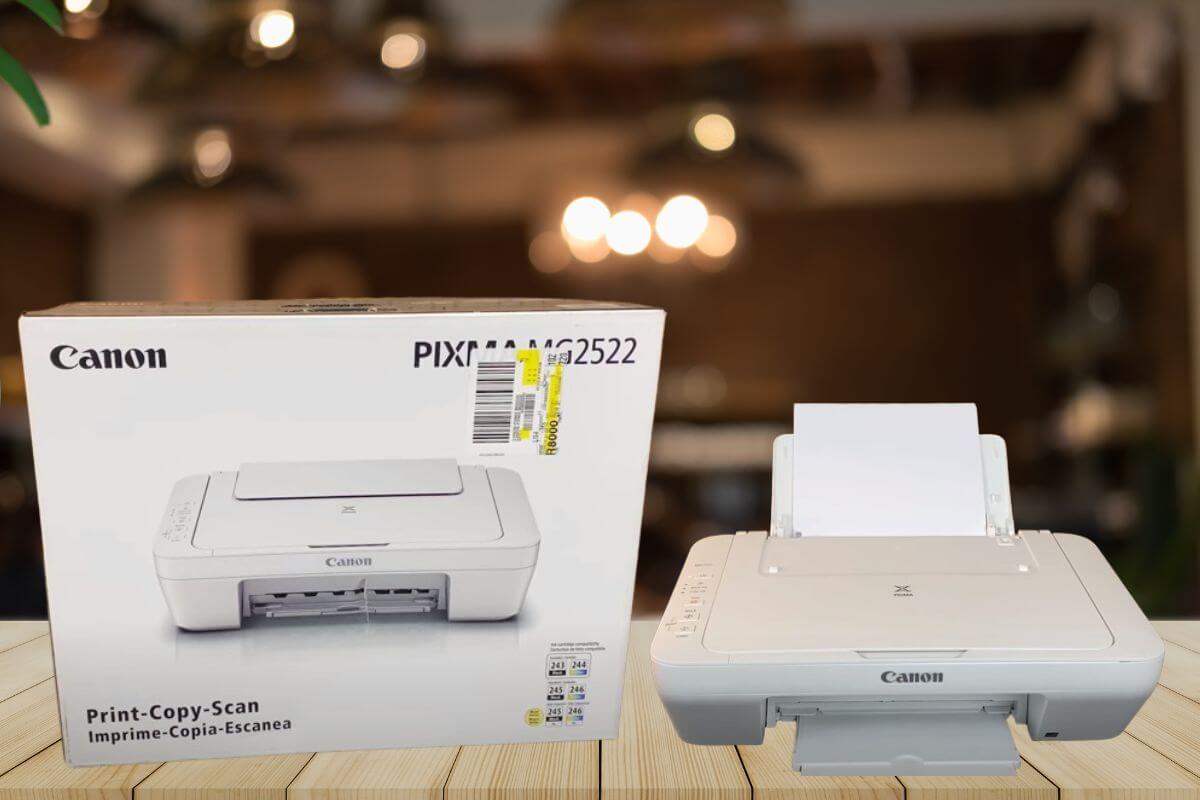
In the digital interconnected era, printers are considered loyal companions. Among the multiple printers available, Canon Pixma Mg2522 stands out as the trustworthy printing device. Do you want to make the most out of your printer? If so, you have to proceed to the Canon Pixma mg2522 printer setup.
Why are you scratching your head in confusion? Just calm down!
If you are worrying about how to accomplish the setup procedure of your printer, we have got you covered. In this blog post, you will come to know about every necessary step to set up your Canon printer easily and quickly. All you need to do is to walk through the information given in this post.
Without beating about the bush, let’s come to the main point and explore the information given below.
Key Requirements For Canon Pixma Mg2522 Printer Setup
Before jumping on the setup process for your printing device, you need to have a few key essentials. Once you possess these basic things, you can easily initiate the setup process.
So what are you waiting for? Here is a complete list of the fundamental things that will surely enable you to accomplish the process without any hassle. Let’s check out the list given below –
- Protective tape to cover your printing device
- Printer
- Power cord
- Ink cartridges
- User manual
- Installation CD
A Simple How-To-Guide For Canon Pixma Mg2522 Printer Setup
Undoubtedly, the Canon Pixma mg2522 printer setup involves a few key steps. These are – unboxing, connecting to power, installing ink cartridges, loading paper, and installing the software on your computer. Here is a detailed guide that will help you throughout the process. Let’s keep an eye on the steps involved in the setup procedure.
Step 1: Unbox the Printer
Open the Box:
First of all, you need to open the packaging and remove the printer.
Remove Protective Materials:
Now, you need to take off every protective tape and plastic covering from the printer.
Check Contents:
It is essential for you to cross-check that you have all the components. These components include – a printer, power cord, ink cartridges, user manual, and installation CD.
Step 2: Connect the Printer to the Power
Plug in the Power Cord:
In this step, you have to connect the power cord to the printer and plug the other end into an electrical outlet.
Turn On the Printer:
After that, press the power button to turn on the printer. Later on, you have to wait for the printer to initialize.
Step 3: Install Ink Cartridges
Open the Ink Cartridge Access Door:
It is required to lift the front cover so that you can be able to access the cartridge area.
Prepare the Ink Cartridges:
Now, it is time to unpack the provided ink cartridges. For this, you have to remove the protective tape from the cartridges. While doing so, it is a must for you to be careful not to even touch the contacts or nozzles.
Install the Ink Cartridges:
For an ideal Canon Pixma mg2522 printer setup, it requires you insert the black ink cartridge into the right slot. Later on, you will have to insert the color cartridge into the left slot. Next, push the cartridges into their respective slots until they click into place.
Close the Ink Cartridge Access Door:
Once you are done with the process of installing the cartridges, close the front cover as soon as possible for you.
Step 4: Load Paper
Open the Paper Tray:
Initially, pull out the paper tray located at the bottom of the printer.
Adjust Paper Guides:
Now, it is the right time to slide the paper guides to the edges of the tray.
Load Paper:
Later on, you can proceed to placing a stack of plain paper into the tray with the print side facing down. Next, you can adjust the paper guides, so that they fit comfortably against the edges of the paper.
Close the Paper Tray:
Push the tray back into the printer.
Step 5: Install Printer Software
Download Software:
Do you want to complete the process of the Canon Pixma mg2522 printer setup? You can visit the Canon Support website. Later on, you can download the latest drivers and software for the Canon Pixma MG2522.
Run the Installer:
To run the installer successfully, you have to open the downloaded file and follow the on-screen instructions. This way, you can install the software. On the other hand, suppose, you have an installation CD, you can also use it instead of running the installer.
Connect the Printer to Your Computer:
When the prompts are visible to you on the screen, you can connect your printer to your computer device. For this, you can prefer to use a USB cable. But make sure that the connection is secure. Later on, you can follow any additional prompts to accomplish the software installation procedure. Once you are done with this process, your printing device will be ready to use.
Step 6: Print a Test Page
Open Printer Settings:
On your computer device, go to the printer settings or control panel.
Print Test Page:
Choose the option that will allow you to print a test page. It can be helpful to you to make sure that everything is set up correctly.
Bottom-line
To be precise, the key steps given in this post will definitely be beneficial for your Canon Pixma mg2522 printer setup. Now, you need not feel stressed to get knowledge about the complete setup procedure. As a result, you can certainly fulfill all of your printing requirements for any of the documents.
FAQs: Canon Pixma mg2522 Printer Setup
How do I install ink cartridges in the Canon Pixma MG2522 printer?
To initiate the process of installing ink cartridges in your printer, you have to follow a few key steps given below –
- First of all, open the ink cartridge access door.
- Unpack the ink cartridges and remove the protective tape that is wrapped on it.
- Now, insert the black ink cartridge into the right slot.
- You have to insert the color cartridge into the left slot until they click into place.
- Finally, you can close the ink cartridge access door.
Can I use any type of paper in the Canon Pixma MG2522 printer Setup?
Yes, it is possible for you to use various paper types in your printing device. It can include – plain paper, high-resolution paper, and glossy photo paper as well. It is also required to make sure that the paper settings in the printer driver or software are completely adjusted. This way, you can definitely match the type of paper you are using for optimal print quality.
How do I connect the Canon Pixma MG2522 printer Setup to my computer?
To connect your printer device to your computer it will be best for you to use a USB cable. You can simply plug one end of the USB cable into the printer. After that, it will become possible for you to plug the other end into an available USB port on your computer. Later on, you will be able to follow the prompts to install the printer drivers and software on your computer. This way, your printer will get ready to use for you.