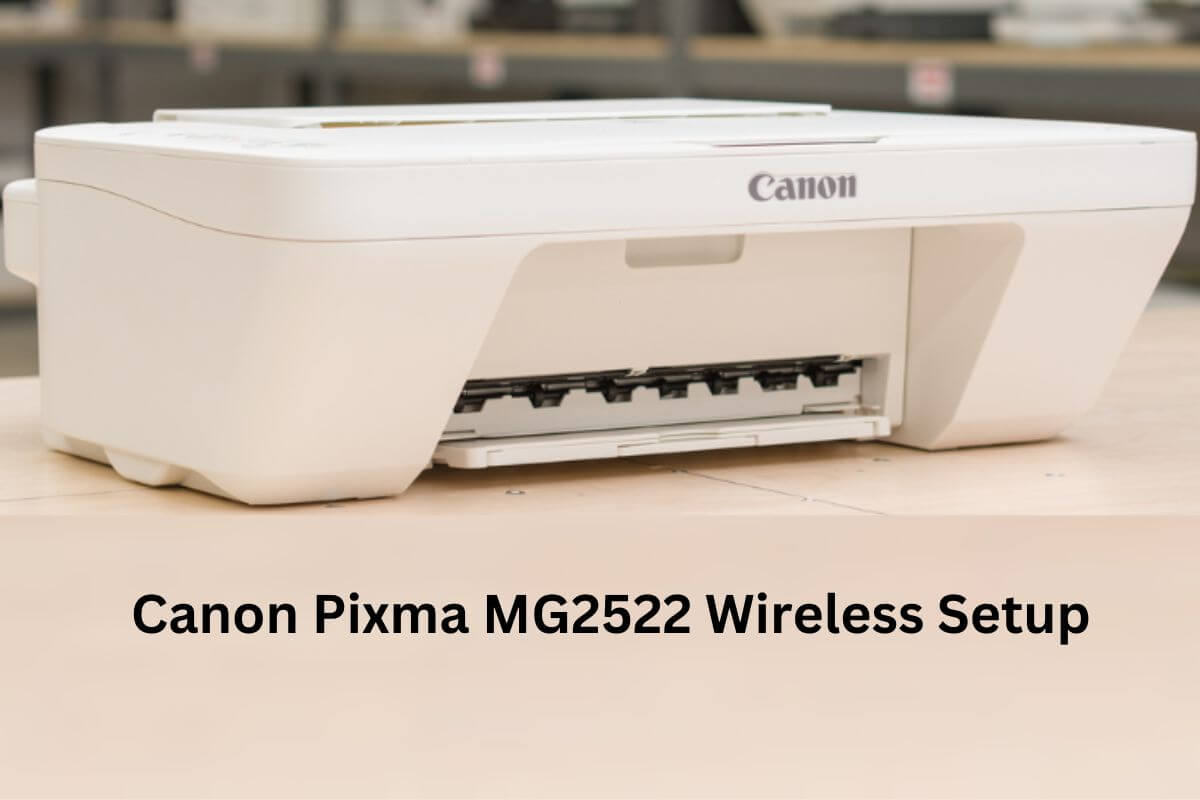
A Detailed Canon Pixma MG2522 Wireless Setup Process
In this digital interconnected world, there is a range of printing devices available. Amidst all of these pieces of printing equipment, the Canon Pixma MG2522 wireless printer stands out as a top-notch printer. Do you want to fulfill all of your printing requirements? Or are you willing to be aware of the complete Canon Pixma MG2522 Wireless Setup process?
You are in the right place!
In this blog post, we have provided you with the complete procedure for setting up your printer. Once you delve into the detailed procedure of setting up your Canon printer, you can be able to attain reliable printing solutions.
Are you scratching your head for such a little task? Why??
Fret not! This blog post is definitely for you to help you aware of the full-fledged process of setting up your printer.
Let’s move ahead and dig a little deeper into the setup process for your wireless printer!
Step-By-Step Procedure For Canon Pixma MG2522 Wireless Setup Process
Before initiating the process of the Canon Pixma MG2522 Wireless Setup, you must be aware of all the involved steps. This way, you can get the most out of your printing device and take advantage of wireless printing. These steps range from unboxing to connecting the printing device to your Wi-Fi network.
Rest assured!
Here in this section, we have provided you with a detailed guide that will help you become familiar with the whole setup process. So, what are you waiting for? It is the right time to go through each step involved in setting up your Canon Pixma printer. Let’s dig a little deeper into this section.
1. Unbox and Prepare the Printer
Unboxing:
- Initially, open the box and remove all contents. The contents can include the printer, power cord, ink cartridges, user manual, and installation CD.
- Now, remove all packing materials as well as protective tape from the printer.
Initial Setup:
- In this step, place the printer on a flat, stable surface. The surface must be near your computer and a power outlet.
- In this step, you have to plug in the power cord to the printer.
- Now, connect it to an electrical outlet.
- After that, press the power button to turn on the printer.
2. Install the Ink Cartridges
The installation of the ink cartridges of your printer involves a few key steps
Open the Cartridge Access Door:
In this step, you are required to lift the top cover of the printer. It will help you access the cartridge holder.
Install the Cartridges:
- Firstly, unpack the ink cartridges that come with your printer.
- Now, remove the protective tape from each ink cartridge.
- In this step, you have to insert the black ink cartridge into the black slot.
- Thereafter, you need to insert the color ink cartridge into the color slot.
- Last but not least, push each cartridge in until it clicks into place.
Close the Cover:
Now is the right time to lower the top cover of the printer. Now, the printer will start performing the initialization process.
3. Load Paper
Open the Paper Tray:
Firstly, pull out the paper input tray at the rear of your printer.
Load Paper:
- At the beginning, you have to insert a stack of plain white paper into the tray.
- Now, adjust the paper guides to fit the size of the paper.
- Next, ensure the paper is aligned properly.
- Later on, you are required to confirm that the tray is not overfilled with additional paper. It will help you to avoid paper jams.
Close the Paper Tray:
In this step, you can push the tray back into place.
4. Install Printer Drivers and Software
Using the Installation CD:
Suppose your computer device has a CD drive, insert the installation CD that came with your printer.
Thereafter, follow the on-screen instructions. This way, you can install the printer drivers and software.
Downloading from the Canon Website:
- In case you don’t have a CD drive, in this situation you can either prefer downloading, or visiting the official Canon support website.
- Now, search for the Canon Pixma MG2522.
- Download the latest drivers and software for your operating system.
- Next, run the downloaded file and follow the on-screen instructions. Finally, you can install the drivers and software.
5. Connect the Printer to Wi-Fi
Enable Wireless Mode:
- On your Canon printer, locate the Wi-Fi button.
- Now, press and hold the “Wi-Fi” button until the indicator light flashes.
- After that, release the button and ensure the Wi-Fi light is flashing.
Using WPS (Wi-Fi Protected Setup):
- Suppose, your router supports WPS, you are required to locate the WPS button.
- Then, press the WPS button on your router within 2 minutes.
- After that, the Wi-Fi light on the printer will continue to flash. A few minutes later, the light will stay solid and indicate a successful connection.
Without WPS:
- In the first step, download and install the “Canon PRINT Inkjet/SELPHY” app on your smartphone or tablet.
- Now, open the app and follow the instructions to connect the printer to your Wi-Fi network.
Note: The instructions for connecting your printer to the Wi-Fi network usually involve – the selection of your printer model, entering the correct Wi-Fi password, and prompts to complete the setup.
6. Configure the Printer on Your Computer
Windows:
- Firstly, open the “Control Panel.”
- Go to “Devices and Printers.”
- In this step, click “Add a printer.
- Select “Add a network, wireless or Bluetooth printer.”
- After that, choose your Canon Pixma MG2522 from the list.
- Last but not least, you are required to follow the prompts that will allow you to accomplish the setup.
Mac:
- In the first step, you have to open “System Preferences.
- Then, select “Printers & Scanners.”
- Now, hit the “+” button to add a printer.
- Thereafter, choose your Canon Pixma MG2522 from the list.
- Finally, you have to click “Add.”
7. Configure the Printer on Your Mobile Device
Canon PRINT Inkjet/SELPHY App:
- First of all, you need to ensure that your mobile device is connected to the same Wi-Fi network as your printer.
- Next, open the Canon PRINT Inkjet/SELPHY app.
- After that, follow the instructions to add your printer. Simply put, it involves looking for available printers on the network. Along with this, it is all about choosing your Canon Pixma MG2522.
8. Print a Test Page
Windows:
- At the beginning of the process, navigate to the control panel of your printer.
- Now, go to “Devices and Printers” which is situated in the Control Panel.
- Later on, right-click on your Canon Pixma MG2522.
- Choose “Printer Properties.”
- Hit on “Print Test Page.” It will help you ensure everything is set up correctly.
Mac:
- Initially, you are required to open “System Preferences.”
- Next, go to “Printers & Scanners.”
- Choose your Canon Pixma MG2522 and click “Open Print Queue.”
- Hit on “Printer” in the menu bar and choose “Print Test Page.”
9. Troubleshooting Common Issues: Canon Pixma MG2522 Wireless Setup
Printer Not Found:
- You need to make sure that the printer and computer are on the same Wi-Fi network.
- Now, restart your printer, computer, and router.
Wi-Fi Light Not Solid:
In this step, re-enter the Wi-Fi setup mode. Along with this, you also need to ensure that you are using the correct network and password.
Driver Installation Problems:
- You need to make sure that you have downloaded the correct drivers for your operating system.
- Next, disable the firewall or antivirus software during installation temporarily.
10. Maintain Your Printer
Regular Maintenance:
- It is necessary for you to regularly check for firmware updates from Canon’s website.
- After that, clean the print head.
- Thereafter, perform alignment checks as per the requirements through the printer’s software.
Replace Ink Cartridges:
- There is also the requirement of keeping an eye on ink levels and replacing cartridges promptly to avoid print quality issues.
11. Additional Tips
Use Genuine Canon Supplies:
It will be best for you to use genuine Canon ink cartridges and paper. This way, you can ensure the best print quality. Along with this, you can avoid damage to the printer.
Secure Your Wi-Fi Network:
Now, it will be beneficial for you to secure your Wi-Fi network. This way, you can prevent illegal access to your printing device.
Conclusion
Hopefully, after following the above steps, you will be able to complete the Canon Pixma MG2522 Wireless Setup process more conveniently. This way, you can set up your printer successfully for wireless printing. Apart from that, with regular maintenance you can keep your printing device running smoothly and efficiently.