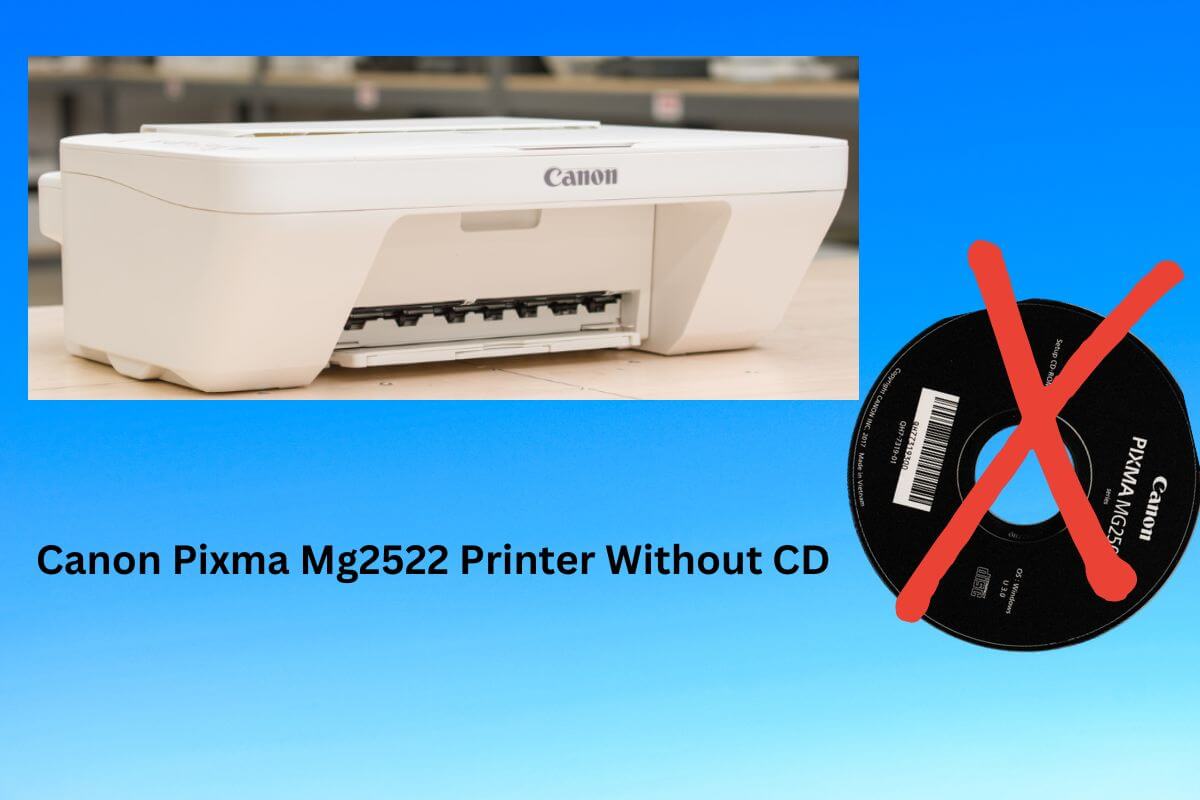
How To Setup A Canon Pixma Mg2522 Printer Without CD
Do you have a Canon Pixma MG2522 printer? If so, you are required to set it up to make the most out of it. Are you eager to be aware of how to setup Canon Pixma MG2522 printer without CD? You have landed in the right place. So, don’t worry and just delve into the information given in this blog post.
Why are you delaying and wasting your precious time?
It is the right time to move ahead and dig a little deeper into this post. Once you scroll down, you will be able to have a glance at the step-by-step process for setting up your printer.
Let’s get started!
Detailed Procedure To Setup A Canon Pixma Mg2522 Printer Without CD
Are you going to set up Canon Pixma MG2522 printer without CD? If so, you should be aware of the requirement of downloading the necessary drivers and software. To accomplish the downloading process in a successful manner, you have to visit the official Canon website. Next, you are required to follow the steps to connect and configure your printing device. Let’s have an eye on the steps given below –
Step 1: Unbox and Prepare the Printer
Unbox the Printer:
First of all, remove the printer from its packaging. Now, take out all included accessories. These accessories include – power cords, ink cartridges, and manuals.
Remove Packing Materials:
Next, it is essential for you to remove all protective materials, tapes, and covers from the printer. You have to remove unwanted materials not only inside the paper tray but also from the scanner.
Connect the Power Cord:
In this step, plug one end of the power cord into the printer. And later on, you have to plug the other end into a power outlet. Now, press the power button to turn on the printer.
Step 2: Install Ink Cartridges
Open the Ink Cartridge Access Door:
- Initially, you need to lift the scanner unit to access the ink cartridge compartment.
- Install the Ink Cartridges:
- Next, unpack the ink cartridges. Insert the black and color cartridges into their respective slots. Push the ink cartridges in until they click into place.
Close the Ink Cartridge Access Door:
Now, lower the scanner unit back into place.
Step 3: Load Paper
Open the Paper Tray:
In this step, you have to extend the paper support and output tray.
Load Paper:
Now, you need to insert a stack of plain white paper into the rear paper tray. Adjust the paper guides to fit the paper size.
Step 4: Download and Install Drivers
Visit the Canon Support Website:
At the beginning of the process, you have to open the Canon support website.
Find Your Printer Model:
In the search bar, type “Pixma MG2522.” Choose your printer model from the search results.
Download the Drivers
In this step, you are required to navigate to the “Drivers & Downloads” section. Choose your operating system( Windows or Mac). Later on, download the recommended driver and software package.
Run the Installer:
Are you done with the downloading process? Now, it is the right time to install a file. For this, you have to follow the on-screen instructions to install the drivers and software as well. The entire procedure may include consent to the license terms. Thereafter, you can choose the installation location, and initiate connecting your printer to your computer.
Step 5: Connect the Printer to Your Computer
USB Connection:
It’s time to connect the printer to your computer. For this, you can prefer to use a USB cable. The USB port is usually located on the back of the printer.
Complete the Installation:
The software that you have just installed in your system, ought to be able to detect the printer automatically. Next, follow the remaining on-screen instructions to accomplish the setup. This might include setting your printer as the default device and printing a test page.
Step 6: Configure Printer Settings
Open Printer Preferences:
This step is about navigating “Devices and Printers” if you have Windows. Or “Printers & Scanners” if you have a Mac. Once you go to these options in the system settings, you can kickstart the process.
Select the Canon Pixma MG2522:
Now, you need to right-click (or control-click) on your Canon Pixma MG2522 printer icon. And also choose “Printer properties” or “Options & Supplies.”
Adjust Settings:
This step is about making adjustments in the print quality, paper type, and other preferences. All these things must be as per your requirements.
Step 7: Install Additional Software (Optional)
Canon Software Suite:
You can also proceed to download the additional Canon software such as – My Image Garden and Quick Menu. For this, you can visit the official Canon website. As a result, you can enhance your printing as well as scanning experience.
Follow Installation Steps:
Last but not least, it will be best for you to initiate downloading and installing these programs. To accomplish this, you are required to follow the same process as installing the driver.
Conclusion
To be precise, by following the detailed steps mentioned above, you can easily setup Canon Pixma MG2522 printer without CD. After going through the information given above, you can ensure that your printing device is ready for all of your printing requirements.
FAQs: Setup Canon Pixma MG2522 printer without CD.
How do I setup my Canon Pixma MG2522 printer without a CD?
To initiate the process of setting up your Canon Pixma MG2522 without a CD, you have to visit the Canon support website. Later on, download the necessary drivers for your operating system. Next, follow the installation instructions. Now, connect the printer to your computer using a USB cable when the prompts are shown to you on the screen.
Where can I download the drivers for the Canon Pixma MG2522?
You can easily download the drivers for your printing device from the official Canon website. Next, you are required to go to the support section and enter your printer model. Choose your operating system and download the recommended driver as well as the software package.
Can I setup my Canon Pixma MG2522 on a Mac without the CD?
Yes, definitely. You can easily set up your printing device on a Mac without a CD. Download the drivers from the official Canon website that are compatible with Mac. Run the installer, and follow the on-screen instructions to accomplish the setup.
What if my computer doesn’t recognize the Canon Pixma MG2522 printer?
In case, your computer does not recognize the printer, make sure that the USB cable is securely connected. For this, you can try to use a different USB port on your computer device. In case, the problem persists, you can think about reinstalling the drivers. Additionally, you can restart both your computer and the printer.
Do I need an internet connection to Setup Canon Pixma MG2522 without a CD?
Yes, it is certain that an internet connection is required for downloading the necessary drivers. As well as you can also think about downloading the software from the official Canon support website. Once you are done with the process of downloading the drivers and software, you can proceed with the online installation.
Are there any additional software applications I should install for my Canon Pixma MG2522?
When you are on the way to setting up your printer, it is recommended to install additional software. These are namely – My Image Garden and Quick Menu. make sure that you are downloading them from the Canon website. The best part of these applications is that they enable you to enhance functionality for your printing as well as scanning tasks.