How Do I Connect My Canon Pixma Mg2522 To My Computer?
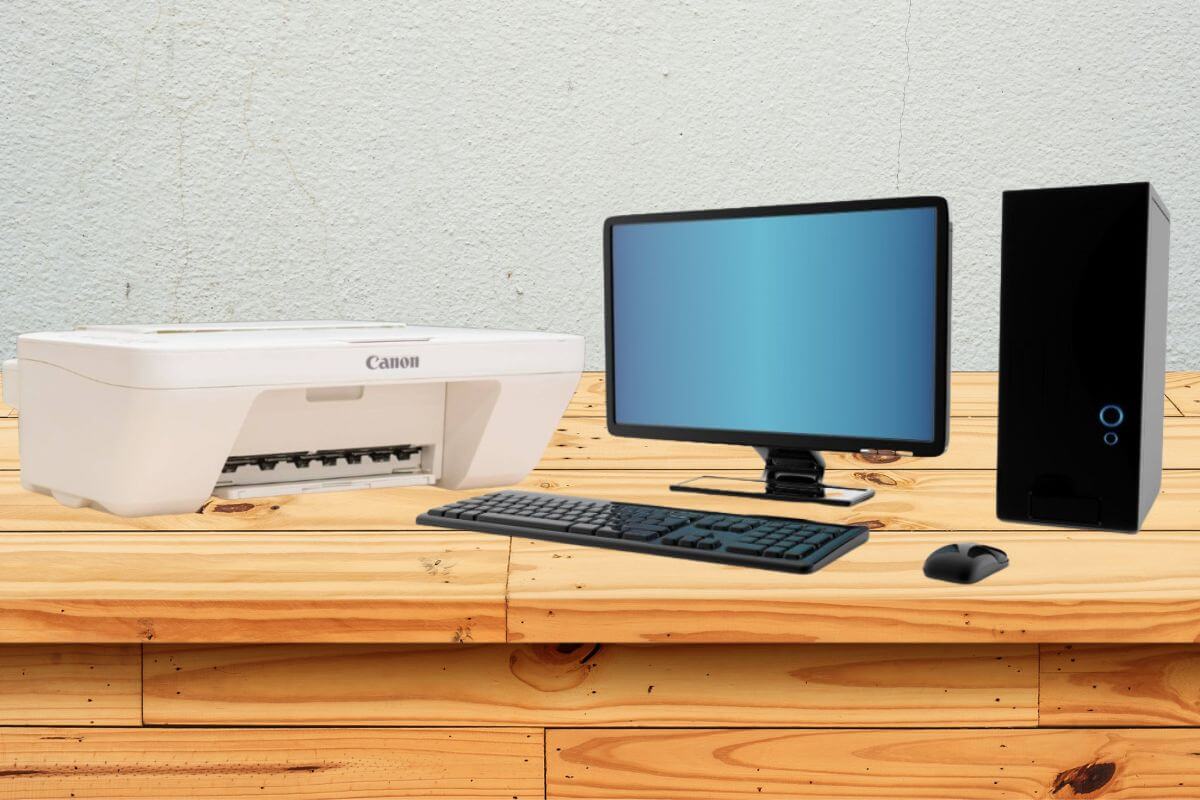
Do you want to activate your Canon Pixma Mg2522 or connect my Canon Pixma mg2522 to my PC? If so, it is a must for you to set it up. In this scenario, you are required to connect my Canon Pixma Mg2522 to my computer. But you need not be anxious about this! All you need to do is take a deep dive into this post. Once you pay your entire attention to the given information, it is damn sure that you will achieve success in establishing a firm connection between both the devices that you have.
Why are you delaying doing so?
Without beating about the bush, let’s get started and walk through this post!
Step-By-Step Process To Connect My Canon Pixma Mg2522 To My PC
The process to connect My Canon Pixma Mg2522 To my Computer is completely straightforward. If you follow the below-given steps carefully, you can achieve success in establishing a strong connection between your PC and printing device. Once you delve into the details given in this segment, you can not only set up the printer but also install the necessary software. So, without much delay let’s scroll down!
Step 1: Unbox and Setup Your Printer
Unbox the Printer
- First of all, carefully unbox your Canon Pixma MG2522.
- Now, remove all the protective materials and tapes from your printer.
Connect the Power Cable
- Initially, plug one end of the power cable into the printer and the other end into a power outlet.
- Next, turn on the Canon Pixma printer by pressing the power button.
Install the Ink Cartridges
- At the beginning of the process, open the front cover of the printer.
- In this step, unpack the ink cartridges that come with your printer.
- After that, insert the black and color cartridges into their respective slots. Ensure they click into place.
Load Paper
- In the first step, open the paper tray.
- Try to adjust the paper guides and load a stack of plain paper.
- Now, manage the guides to fit the paper snugly.
Step 2: Install Printer Software on Your PC
Download the Software
- Firstly, go to the Canon official website.
- Now, navigate to the support section.
- Search for Canon Pixma MG2522.
- Last but not least, download the appropriate driver and software package for your operating system.
Run the Installer
- It is the right time to locate the downloaded installer file.
- Note: Usually the installer file is in your Downloads folder.
- Double-click the file to run it.
- Now, follow the on-screen instructions to install the software.
- Agree to the license agreement.
- Select the installation type (typically, the standard installation is recommended).
Connect the Printer to Your PC
- Connect your printer to your PC via a USB cable, when prompted during the software installation.
- Now, ensure the printer is turned on.
- Finally, the software will initiate detecting the printer automatically.
- Now, follow the remaining on-screen instructions to accomplish the installation.
Step 3: Configure Printer Settings
Set as Default Printer
- At the beginning of the process, go to Control Panel > Devices and Printers (Windows) or System Preferences > Printers & Scanners (macOS).
- In the next step, right-click on the Canon Pixma MG2522.
- Select “Set as default printer”.
Test the Printer
- Initially, print a test page to ensure everything is set up correctly.
- On Windows, right-click the printer icon.
- Select “Printer properties”.
- Click “Print Test Page”.
- On macOS, select the printer in the Printers & Scanners section.
- Click “Options & Supplies”.
- Last but not least, you are required to, use the “Print Test Page”.
Step 4: Troubleshooting Common Issues
Printer Not Detected
- Make sure that the USB cable is securely connected to both the printer and the PC.
- Try to use a different USB port on your Personal computer (PC).
- Finally, restart your PC and printer.
Driver Installation Issues
- First of all, make sure you downloaded the correct driver for your operating system.
- Try to disable any antivirus software temporarily during the installation as it may interfere with the process.
- Run the installer as an administrator. For this, you have to right-click the file and select “Run as administrator”.
Print Quality Issues
- Firstly, perform a print head alignment.
- Clean the print head from the printer’s maintenance menu.
- Now, ensure you are using the correct paper type and settings.
- Last but not least, replace ink cartridges if they are low or empty.
Connectivity Issues
- You need to ensure that no other devices are interfering with the USB connection.
- Next, use a high-quality USB cable.
Step 5: Advanced Configuration (Optional)
Scanning Setup
- If you are willing to use the scanning function, ensure that the scanner driver is installed.
- Open the scanning software provided by Canon
- Use the built-in scanning utility on your PC (e.g., Windows Fax and Scan).
Wireless Printing (If applicable)
- The Canon Pixma MG2522 does not support wireless printing directly.
- You can share the printer over a network if connected to a PC.
- On Windows, go to Control Panel > Devices and Printers.
- Now, right-click your printer.
- Select “Printer properties”.
- Go to the “Sharing” tab.
- Enable printer sharing.
- On macOS, go to System Preferences > Sharing, and check the “Printer Sharing” box.
- Finally, select your printer.
Mobile Printing (If applicable)
- It will be best to use the Canon PRINT Inkjet/SELPHY app. It is possible for you to do this if you have connected your printer to a shared network for mobile printing.
Step 6: Maintenance Tips
Regular Cleaning
- It is essential for you to clean the exterior of the printer with a soft, dry cloth.
- Now, use the printer’s maintenance software to clean the print head.
- Perform deep cleaning periodically.
Firmware Updates
- Check for firmware updates on the Canon website.
- Update your printer’s firmware if necessary.
- Now, you can ensure optimal performance and compatibility.
Proper Shutdown
- Before going to unplug the printer or turn it off, make sure that the power button is switched off.
- Finally, you can unplug your printer to prevent the internal components from being damaged.
Wrapping-up
After walking through the information given above, you will be familiar with the complete process to connect my Canon Pixma Mg2522 to my computer. All you need to do is -set up the hardware, install the crucial software, and more. You will also be required to configure your printer’s settings.
Simply put, by following the steps given above, you can ensure a smooth setup process. Apart from that, you can also ensure a smooth setup process and enjoy trustworthy printing & scanning capabilities. If you have a strong desire to see your printer in good working condition, you are required to troubleshoot all the issues that arise and maintain your printing device on a regular basis.
Read More: Canon Pixma MG2522 Wireless Setup Process